About Me

My photo
Wife, Mother, Mimi, lover of all things creative... sewing, embroidery, painting, collage... God and family are the most important things in my life.
Showing posts with label canning. Show all posts

Saturday, July 27, 2013

Canning Roasted Tomato Sauce


The tomatoes here finished up early due to an abundance of rain.  However, before the rain took over the crop, making them split before they ripened, I canned some roasted tomato sauce.

I was inspired by the post I found here.

I added a mixture of herbs from my little herb garden, mostly basil, chives, and oregano to their basic ingredients.  I also made sure that I had enough vinegar added to provide the acid needed to can tomatoes.  
This picture was taken this spring.  My herbs  have grown like crazy since then and  I'm  looking for ways to use all I have!

This method was so much easier than the one I have used before, and I love the flavor of the roasted tomatoes.  The house smelled wonderful while this was in the oven!
If you haven't ever tried making homemade tomato sauce this is a great method.  Give it a try.


Sunday, July 14, 2013

Canning Roasted Yellow Tomato Salsa


Before the monsoon came through our area (only a slight exaggeration) We were very blessed with tomatoes. While they were coming in steadily and bountifully, I canned some roasted salsa using mostly yellow tomatoes. I found the recipe on the blog Doris and Jilly Cook

This is the recipe as written on their site:

Roasted Tomato Salsa (for canning)

About 8 pounds of tomatoes (18 medium)
3 small onions or 1 large onion, hacked into large pieces
1 cup cilantro, thick stems removed
Several dried peppers: I used 3 dried bird peppers and 1 dried ancho pepper
6 cloves garlic, peeled
Salt
1/2 cup lime juice
1) Cut the tomatoes in half and arrange them in a roasting pan. Broil for 3–5 minutes, until the skins are charred. If your broiler is unpredictable, you can also roast them for about 30 minutes at 450°F.
2) Meanwhile, soak your dried peppers in boiling water to cover. When they’re pliable, cut them open and remove the seeds. If you want a hotter salsa, leave them in.
3) Also meanwhile, bring a water bath to boil for canning. Sterilize your jars and warm the lids (this made 6 half pints and 1 pint for me, but you might want to have some other pint jars ready in case yours makes more….or just eat the extra).
4) When the tomatoes are cool enough to handle, throw them in a food processor with the onions, the garlic, the cilantro, and the peppers. You may have to work in batches. Transfer the chopped vegetable mixture to a stockpot with the lime juice and 1 T salt (more or less to taste). Bring to a boil and simmer for 10 minutes.
5) Transfer the hot salsa to the hot jars, leaving 1/4″ headspace. Run a spatula around the edge to remove air bubbles and add more salsa if necessary. Wipe the rims and adjust the lids.  As seems to be the case for most salsas, processing time recommendations vary somewhat, but based on the National Center for Home Food Preservation‘s guidelines for other salsas, you should be fine with 15 minutes in a boiling water bath. After all, this is basically a recipe for roasted tomatoes, garnished with onions, drowned in lime juice.

I used fresh jalapeƱos instead of the dried peppers, and some fresh basil at the end.  Other than that, I pretty much followed the recipe. I think I also added a little vinegar to make sure I had enough acid.  I love the more robust flavor of the roasted tomatoes!
The yellow tomatoes are very tasty, but I think the red ones make a prettier salsa.

Saturday, July 6, 2013

Still Jamming

The day we picked blueberries we went on a wild goose chase looking for a certain blackberry farm.  Somehow the GPS did not jive with us, and we ended up going in the wrong direction.  By the time we figured out where we were actually going and finally arrived the farm was closing.

The next day my sweet daughter surprised me with a bowl of berries.  It wasn't quite enough for the jam recipe so I added enough blue berries to finish out the 4 cups needed.  The result was what I call Black and Blue Jelly.  Yummo!

I used a recipe from Kraft.  Apparently, judging by the name, they got it from Certo.

If you don't have quite enough berries try mixing it up.


CERTO® Blackberry Jam


what you need


4
cups  prepared fruit (buy about 2 qt. fully ripe blackberries)

7
cups  sugar, measured into separate bowl

1/2
tsp.  butter or margarine

1
pouch  CERTO Fruit Pectin

make it


BRING boiling-water canner, half full with water, to simmer. Wash jars and screw bands in hot soapy water; rinse with warm water. Pour boiling water over flat lids in saucepan off the heat. Let stand in hot water until ready to use. Drain well before filling.
CRUSH blackberries thoroughly, one layer at a time. (Press half of the pulp through a sieve to remove some of the seeds, if desired.) Measure exactly 4 cups prepared fruit into 6- or 8-qt. saucepot.  (side note: I love the texture of the seeds so I leave them in.)


ADD sugar; stir. Add butter to reduce foaming. Bring mixture to full rolling boil (a boil that doesn't stop bubbling when stirred) on high heat, stirring constantly. Stir in pectin. Return to full rolling boil and boil exactly 1 min., stirring constantly. Remove from heat. Skim off any foam with metal spoon.

LADLE immediately into prepared jars, filling to within 1/8 inch of tops. Wipe jar rims and threads. Cover with two-piece lids. Screw bands tightly. Place jars on elevated rack in canner. Lower rack into canner. (Water must cover jars by 1 to 2 inches. Add boiling water, if necessary.) Cover; bring water to gentle boil. Process 10 min. Remove jars and place upright on towel to cool completely. After jars cool, check seals by pressing middle of lid with finger. (If lid springs back, lid is not sealed and refrigeration is necessary.)

Saturday, January 7, 2012

Jamming it Up


Honestly, I don't know if marmalade is classified as a jam or not. I told you before I've never particularly cared for marmalade as a topping for toast, biscuits, or scones, that is not until now.

Kumquat marmalade is better than any marmalade I've ever tasted. Now to be fair, since it hasn't been on my favored list I haven't tasted a lot of marmalade, but what I have tasted makes a nice compliment to poultry or ham in some sort of glaze or Jezebel sauce, but I find it just a bit too bitter to sweeten bread.

This is not so when it comes to kumquat marmalade, at least in my book. Maybe because I actually like the tangy bite in a kumquat and am used to ingesting them peel and all, as they are meant to be eaten. Whatever the reason I now have a new favorite topping for breakfast breads and surprisingly it's a marmalade.

This takes a bit longer than the satsuma marmalade I made earlier, unless you are fortunate enough to have seedless kumquats, but it is well worth the extra effort.

So if you have a lovely citrus tree in your yard with beautiful little tart fruit, with a quirky name and a bit of a bite, and you have up until now thought of it mainly as ornamental, you might want to think again and give this recipe a try. I found it online, as usual, at A Cooking Life. The author gives wonderful step by step instructions, with beautiful pictures, so I won't try to recreate all of that here. Give it a try and come back and let me know what you think.


Linking up with Shay at Quilting in My Pyjamas for

Saturday, December 17, 2011

Satsuma Marmalade


Satsumas are one of my favorite fruits. If you haven't experienced this fabulous citrus fruit, I can't possibly explain the essence of all you are missing out on. They are easy to p
eel, with the perfect balance of tart and sweet. They are in abundance around here this time of year, and usually we simply eat them as they are until they are all gone.

Last year we juiced some and
froze the juice. This year my daughter decided to make marmalade out of them. I had been planning on making kumquat marmalade, but had honestly never thought of using satsumas for it. She called to say how great it turned out, and since a local farmer had just invited my husband and son to come and pick the rest of his crop before they froze I just happened to have plenty on hand, so I decided to try my hand at it.

My daughter came over and we decided to work together. It was a lot of fun. The whole process took quite a while. We worked on it practically half of the day, and we only got 8 half-pints, that's only 4 half-pints a piece. We really didn't mind that much. It was a new experience and we enjoyed doing it together.

I've never eaten a lot of marmalade, I mainly use it to baste grilled chicken, but after smelling it I had to have a sample on some toast. I don't know if it was all of the time put into it that made me biased or not, but I think it turned out really tasty!


While working with my daughter, we used her electric juicer. Angel Eyes, came in and asked why we didn't use the juicer on my Hoosier cabinet. It was a vintage model I picked up at a flea market, thinking it would go nicely on the antique cabinet. I had never planned to use it. She asked if she could try it out. I washed it up and let her have at it, and to tell the truth I liked using it better than the electric one.

Angel Eyes, fixed herself a couple of cups of juice, and offered to squeeze some for anyone else who wanted it.

The next day I decided to do another batch and used the old juicer for the entire recipe. It worked great. If you would like to try making a batch yourself, I'm including a link to the recipe here, at Pots and Pins, a food and quilting blog that I plan to peruse more closely after the holidays.

Monday, October 3, 2011

Fair Ribbons

For Angel Eyes nothing quite measures up to winning blue ribbons at the fair. She thinks about it all year long and is always looking for a unusual craft to enter. This year she entered a log cabin her dad showed her how to make. The hard part was keeping it intact in a house with four younger siblings. Somehow it managed to survive, and we are all so glad it did.
She also won a blue ribbon for a woven potholder. As soon as she entered her items she came home and began planning for next year!
I must admit, I enjoy entering too. Now what can I can different next year? I'll bet Angel Eyes will help me think of something.


I don't have pictures, but my daughter-in-law won a ribbon for her red onion marmalade, and my daughter won ribbons in dill pickle, cinnamon roll, and photography categories.

Wednesday, September 7, 2011

A New Love


I was inspired by Amanda's post on her blog Simple and Creative Living to try my hand at making Lemon Curd. I've always wondered what it tasted like, I guess the name curd put me off. Amanda calls it Lemon Butter in her post. Doesn't that sound much more appealing? Anything with butter in the name sounds good to me!


I wanted to preserve some of the new creation so I did some research and found canning curd is a pretty controversial subject. I read loads of recipes and differing opinions on the subject and almost changed my mind. When I finally came across this post on the blog A Gardener's Table I decided I was safe and I would give it a try.


I'm so glad I did! My husband and I both fell in love with Lemon Curd aka Lemon Butter instantly! There was a little left over after that wouldn't fit in the last jar so I poured it in a goblet and placed it in the refrigerator. About three in the morning I heard a rumbling in the kitchen, rather than investigate I turned over and went back to sleep. The next morning the midnight prowler confessed. "I woke up in the middle of the night and all I could think about was that lemon stuff! Where did you put it?"


I told him and his reply was, "Oh, I couldn't find it and so I figured you ate it all. Will you show me where it is? That's all I' can't get it out of my mind until I taste it again!"


I gave him the rest of the left-overs and he devoured it.


A couple of nights later while watching t.v. he said, "I've got an idea! Let's open up one of your little lemon jars and have a snack!"


My guess is I didn't make enough of this. I'm thinking of planting a lemon tree!


Here is the recipe I finally decided on, found at Cheery Observations.

She adapted this recipe from the book Put ‘em Up!


Lemon Curd

Makes 3 cups

Ingredients

1 tablespoon lemon zest

1 cup lemon juice (from about 5 lemons)

1 1/2 cups sugar

1 1/2 sticks of butter, cut into pieces

4 eggs

1/2 teaspoon of salt

Directions

1. Combine all of the ingredients in the top of a double boiler.

2. Bring the water in the bottom pan to a low boil and whisk the mixture constantly until it thickens. This can take anywhere from 10 minutes to 25 minutes.

3. Strain mixture through a fine mesh sieve.

4. Ladle into jars and let cool. Refrigerate for up to 2 weeks.


Wednesday, August 17, 2011

Canning Grape Juice

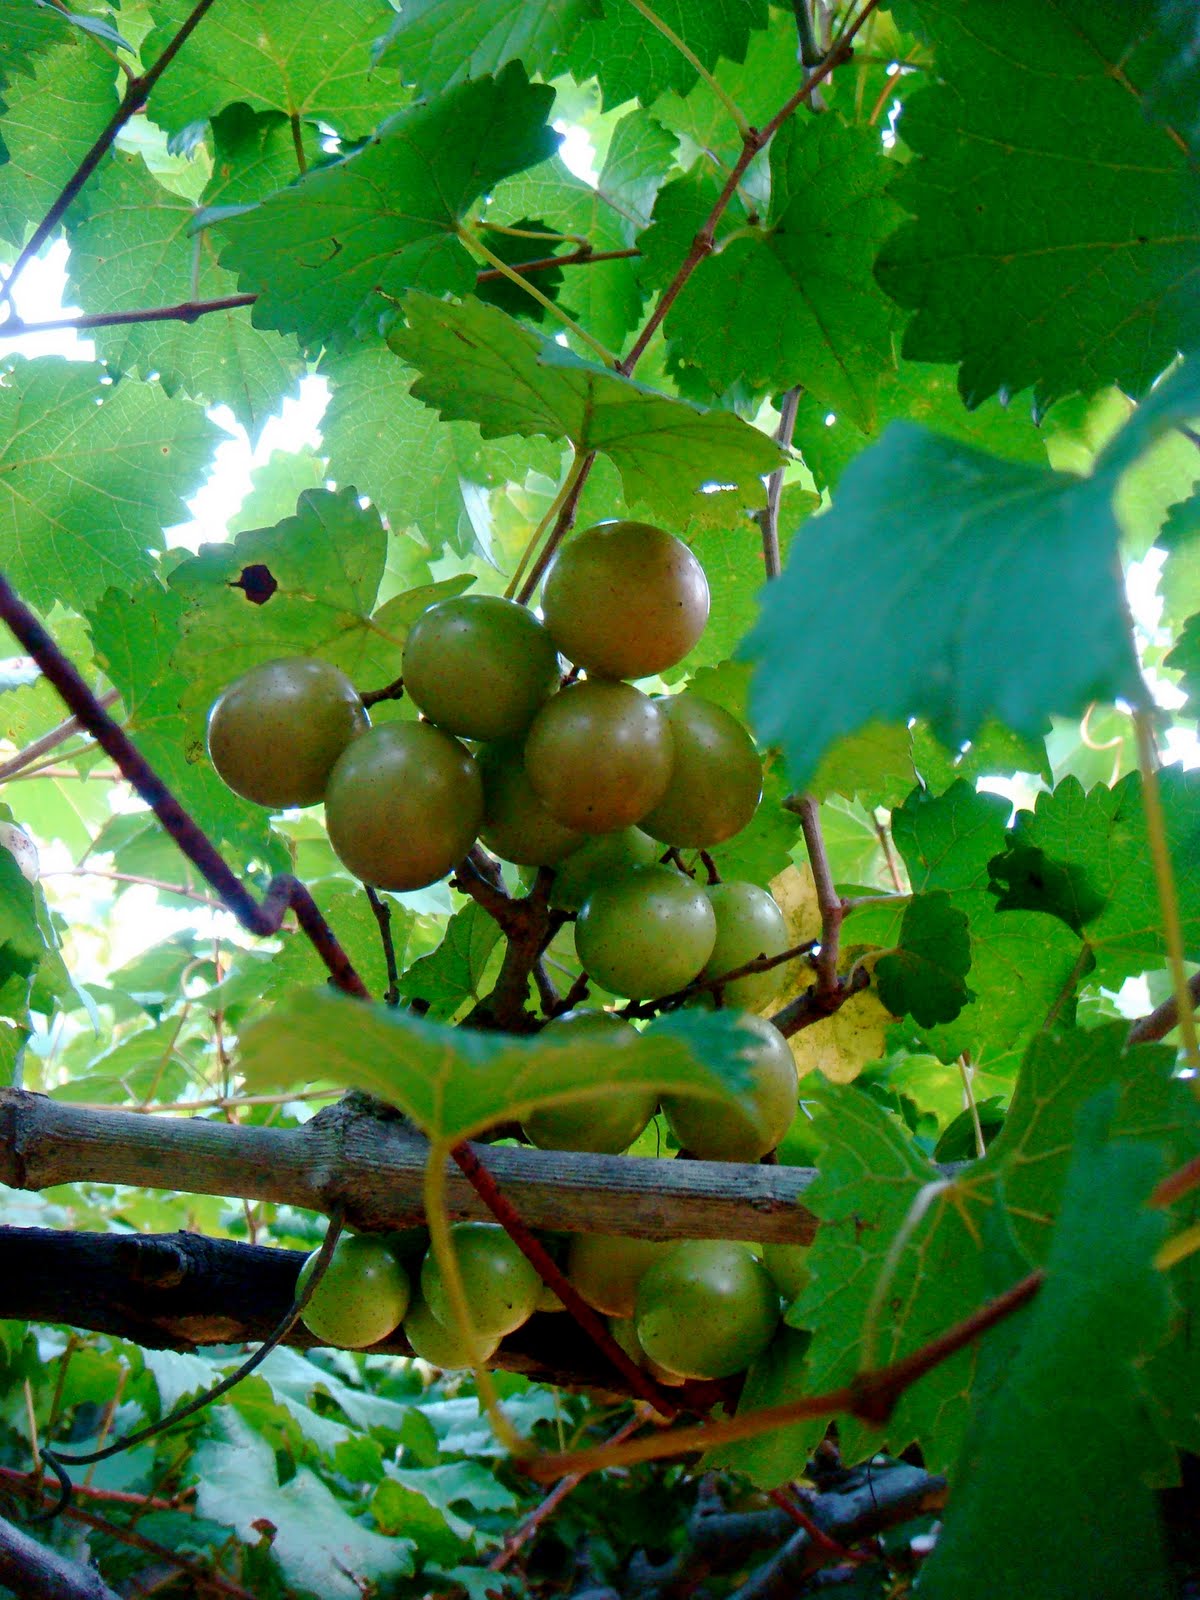
A few years ago my husband and I bought the most amazing muscadine and scuppernong juice at arts and craft festival near Cade's Cove. It was wonderful in flavor and reported to be very beneficial to one's health. I always wanted to try and can some, but never had enough fruit to afford the opportunity until last week when some friends offered to let us come and pick from their arbor full of seven different species of grapes.


It was suffocatingly hot and I wasn't really excited about the outing to start with, even though I was greatly anticipating the enjoyment of the end product.

When we arrived I was amazed at the beauty of the arbor and the fruit heavily cascading from the canopy in every direction, and in a variety of hues. There were grapes of varying tones of green, gold, purple, violet, and some bordering on red. The sizes varied almost as much as the colors.


Some hung in clusters that you could pick by the handful, and others hung in singles.

Of course, we sampled as we picked and the taste and textures were as individual as the appearance of the fruit. An array of birds were none too happy at our carrying off a large bounty from what they obviously viewed as their private stock. Some put up a fuss, but thankfully that's all they did.

We came home with full tummies and high hopes for our own pantry to soon be stocked with purple or golden nectar.

We decided to just mix the varieties and see what happened.
After reading many sites on canning grape juice and realizing that there was several different ways to do it, using specific equipment like a steam juicer for many of them, I opted to try the two methods that didn't require special equipment since I did not have any. I was surprised that all of the methods I found called for sugar. I was hoping to stay away from that. I decided to use the least possible amount of sugar figuring that we could always add it later if it was needed. The first strategy I finally decided to try called for mashing the grapes, cooking them, squeezing them, straining them twice, heating the juice again adding sugar and making sure it melted, pouring the juice into sterilized jars and processing it. It was concentrated and will need to have water and a little more sweetener added to it when we open it. It was pretty labor intensive especially trying to squeeze the juice from the grapes manually using nothing but cheesecloth and a strainer. I'll be on the look out for a food mill before I try this again!

I also read about an old time, quick way of making juice by adding a cup and a third of clean grapes to a sterilized jar along with a third a cup of sugar, then pouring boiling water over the grapes and sugar and processing for twenty-five minutes. This seemed much too easy to be good, but I tried it just to see. We sampled a jar the next morning after cooling it down, then refrigerating it. It seemed a little on the sweet side to me, with a taste that wasn't as flavorful as I would have liked. I suspect that it will have a stronger grape taste when it sits a little longer. Using a pressure canner to infuse the grape flavor would have been a good idea. I may borrow one from a friend if I try this again, and I will definitely use less sugar.